


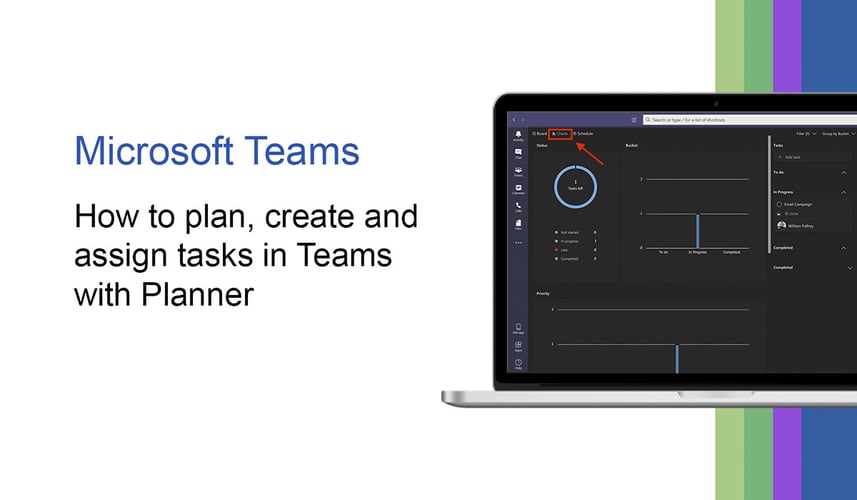
In this article, I’ll introduce you to Microsoft Planner and show you how this Microsoft 365 app equivalent to Asana, Trello and other work management apps can help you to create, manage and keep track of your individual tasks, without having to sign-up and pay for yet another application.
Better yet, because Planner seamlessly integrates with Microsoft 365 apps – including Microsoft Teams, and it's included in your Microsoft 365 (formally Office 365) business standard plan, it won’t cost you any extra to take the chaos out of remote teamwork and get more done.
As your friendly neighbourhood IT services provider, we'll walk you through everything you need to know about Microsoft Planner and how you and your team can use it to your advantage.
What is Microsoft Planner
The fancy terminology for Planner is a ‘work management application’. But we know it as a simple visual app that makes it easy for you to organise teamwork and manage tasks.
MS Planner helps you create plans, assign tasks and get at-a-glance reports, so you have 100% visibility of your team's progress. Oh, and because it integrates seamlessly with Microsoft Teams, you can collaborate and communicate efficiently, even if you’re all working remotely.
Why use Microsoft Planner?
There are a bunch of reasons to use MS Planner for task management and organisation. Here are five, that will have you reaching for the launch planner now button.
#1 Organise the chaos. Fast.
In just a few clicks you can create a visual planning board, build a team and assign tasks.
#2 Get 100% visibility
Every plan you create has its kanban board to help you visualise tasks and prioritise them accordingly. This is where you can drag and drop your task list into buckets (aka columns), update tasks, and filter your board by task status or task owners, so you always know who is working on what.
#3 Never miss a beat
Planner works across all your devices. And with at-a-glance charts at your fingertips, you will know where things stand and if your team is making enough progress towards your goal.
#4 Work together effortlessly
Planner integrates seamlessly into Microsoft Teams, which means you don’t have to switch applications to use it. You can manage your plans, update tasks and view progress right within Microsoft Teams. Oh, and all of your team’s tasks, notifications and key discussions stay in Microsoft Teams and don’t get lost in emails, static documents or sticky notes. Glorious!
#5 No added cost!
Using a third-party app to manage your tasks, means more applications to switch between, more updates and plugin management, more time, more subscriptions and undoubtedly more money. Microsoft Planner is available to most users with a Microsoft 365 (formally Office 365) business subscription (note: it’s not included in Microsoft 365 home/personal subscriptions), which means you have a management tool, without having to spend more time and money on a third party application.
Teams and Planner - Try it for yourself
Using Planner is as simple as adding a new tab to a team channel. I’ve included a handful of step-by-step instructions, and if you’d prefer to see it in action, just watch this video from Microsoft on how to use Planner in Teams:
How to create a Planner in Microsoft Teams
- Open Teams and navigate to the Teams channel that you would like to add Planner to
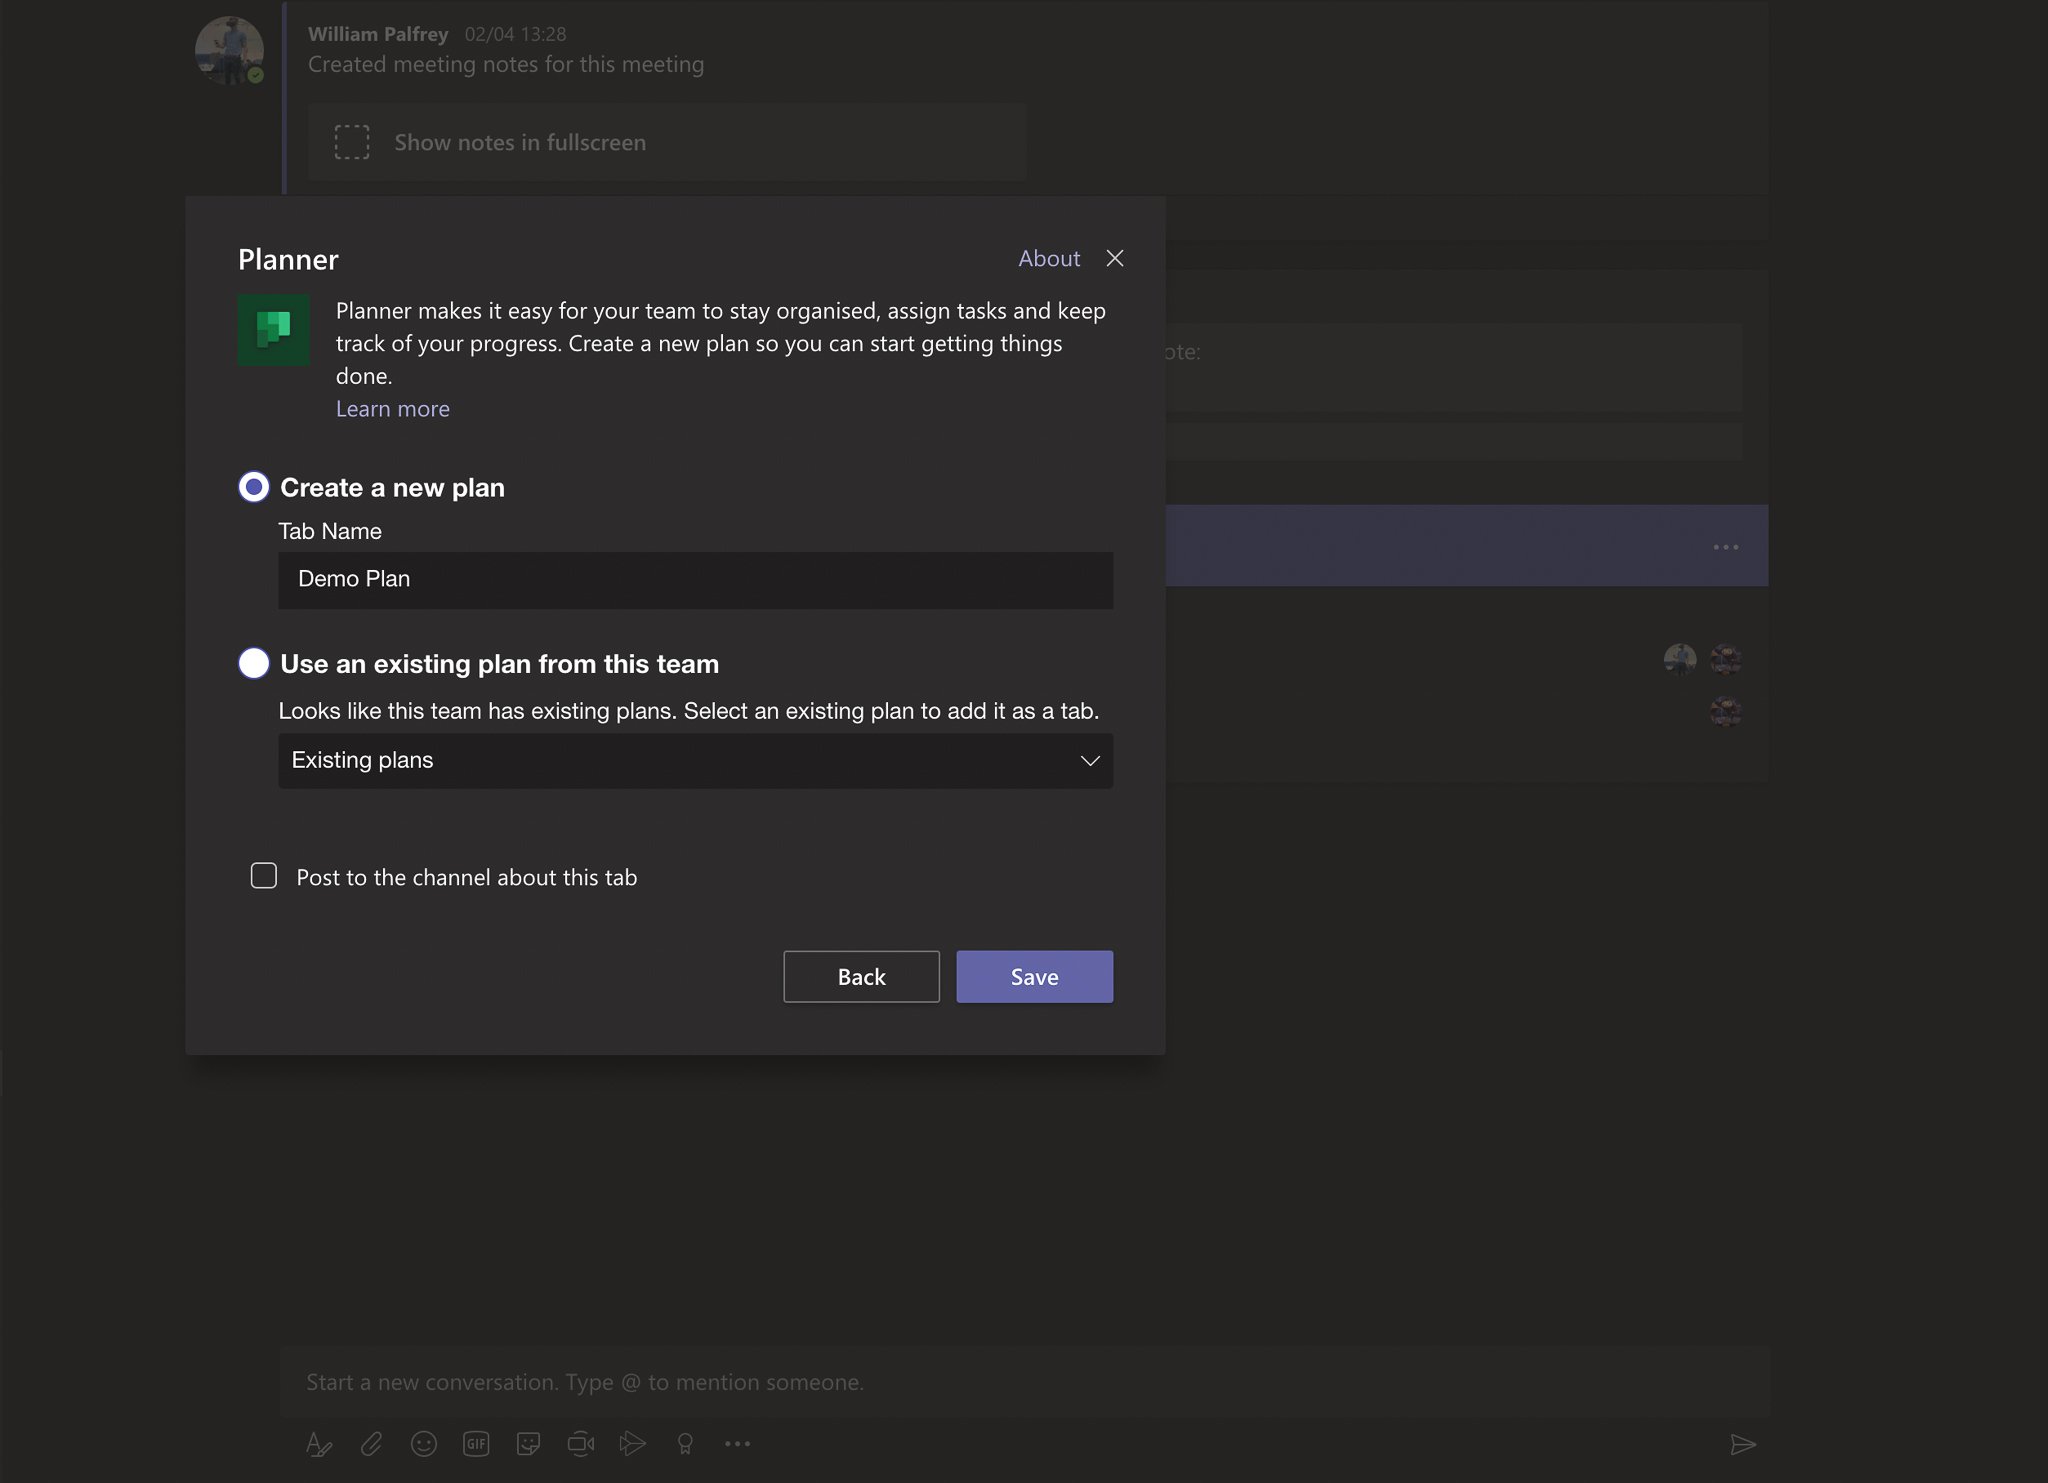
- Click the + button and select Planner from the list
- Select the option to create a new plan and give the tab a name
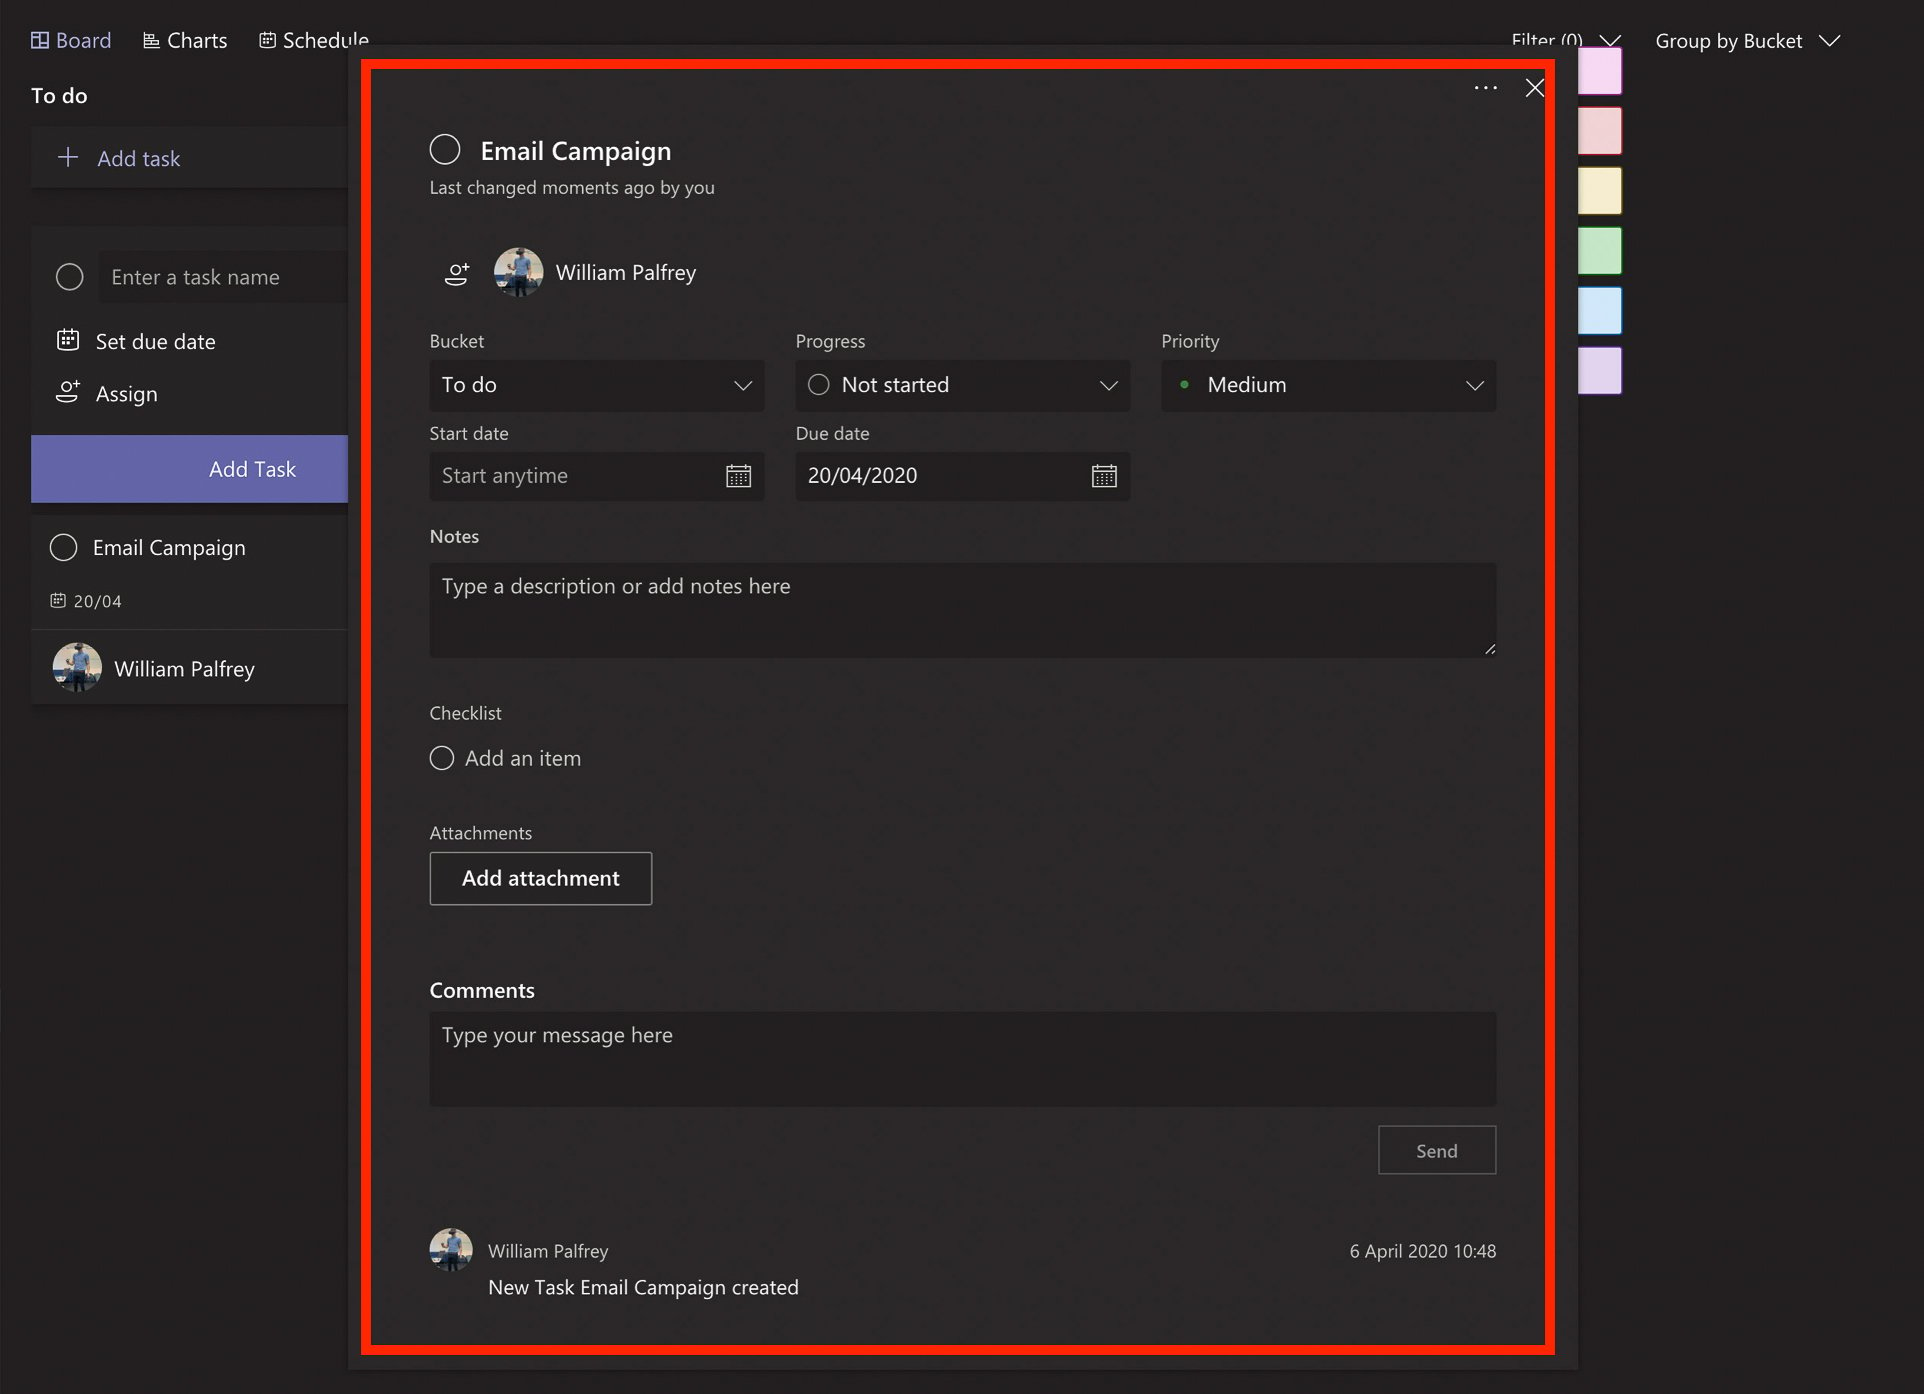
- Add a task, set the due date and assign the task to a user

- (Optional) Click on the task you created to view more details, add a description, give it a priority, attach documents or make a checklist (aka sub-tasks within the task).
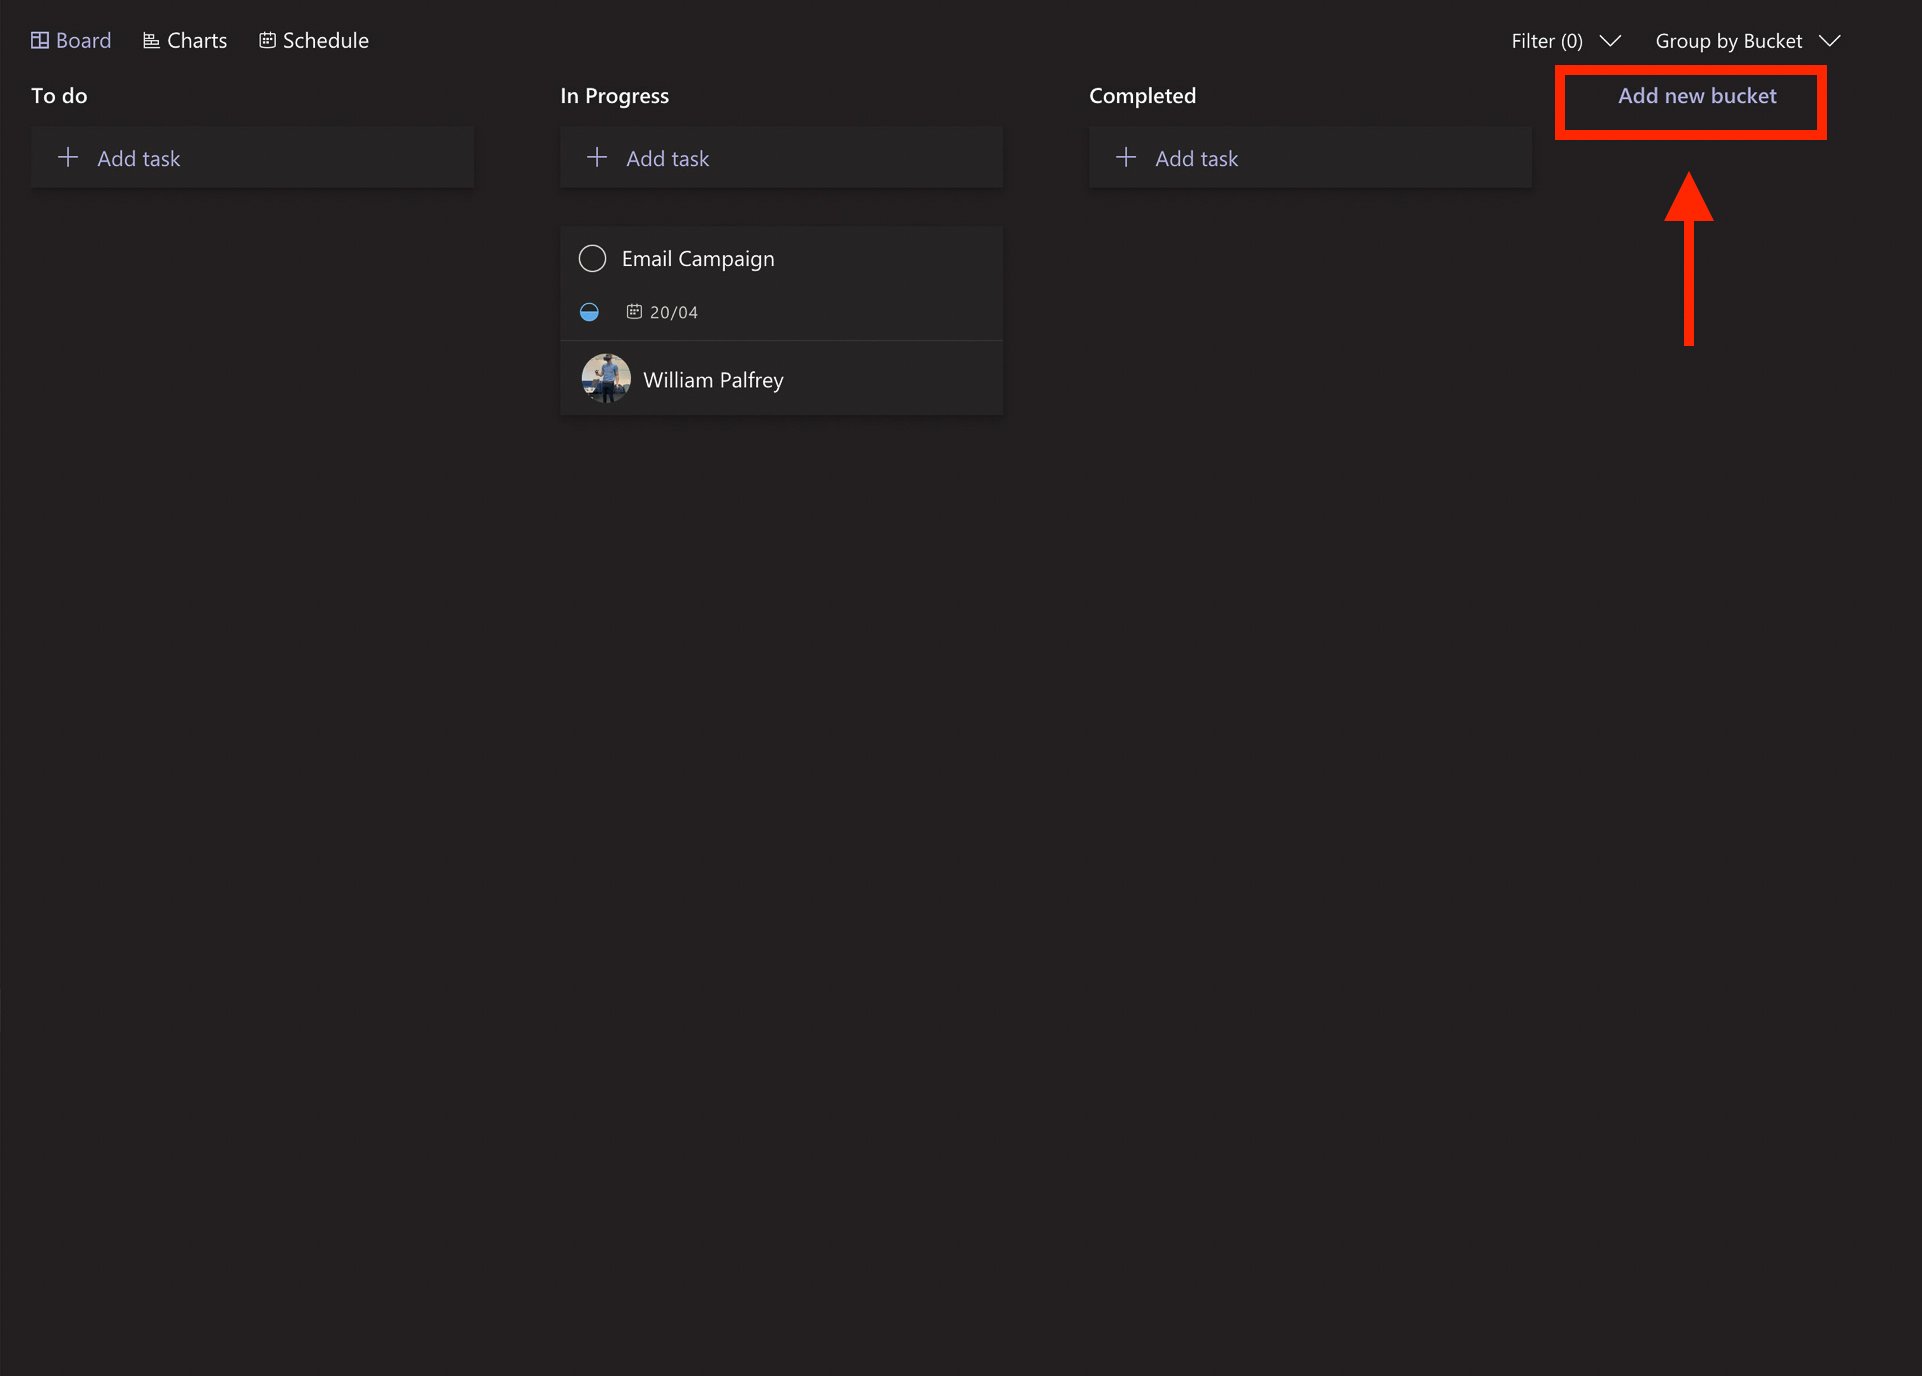
- Click on Add New Bucket to add a bucket (aka column)
- Drag and drop your tasks between buckets to manage your tasks
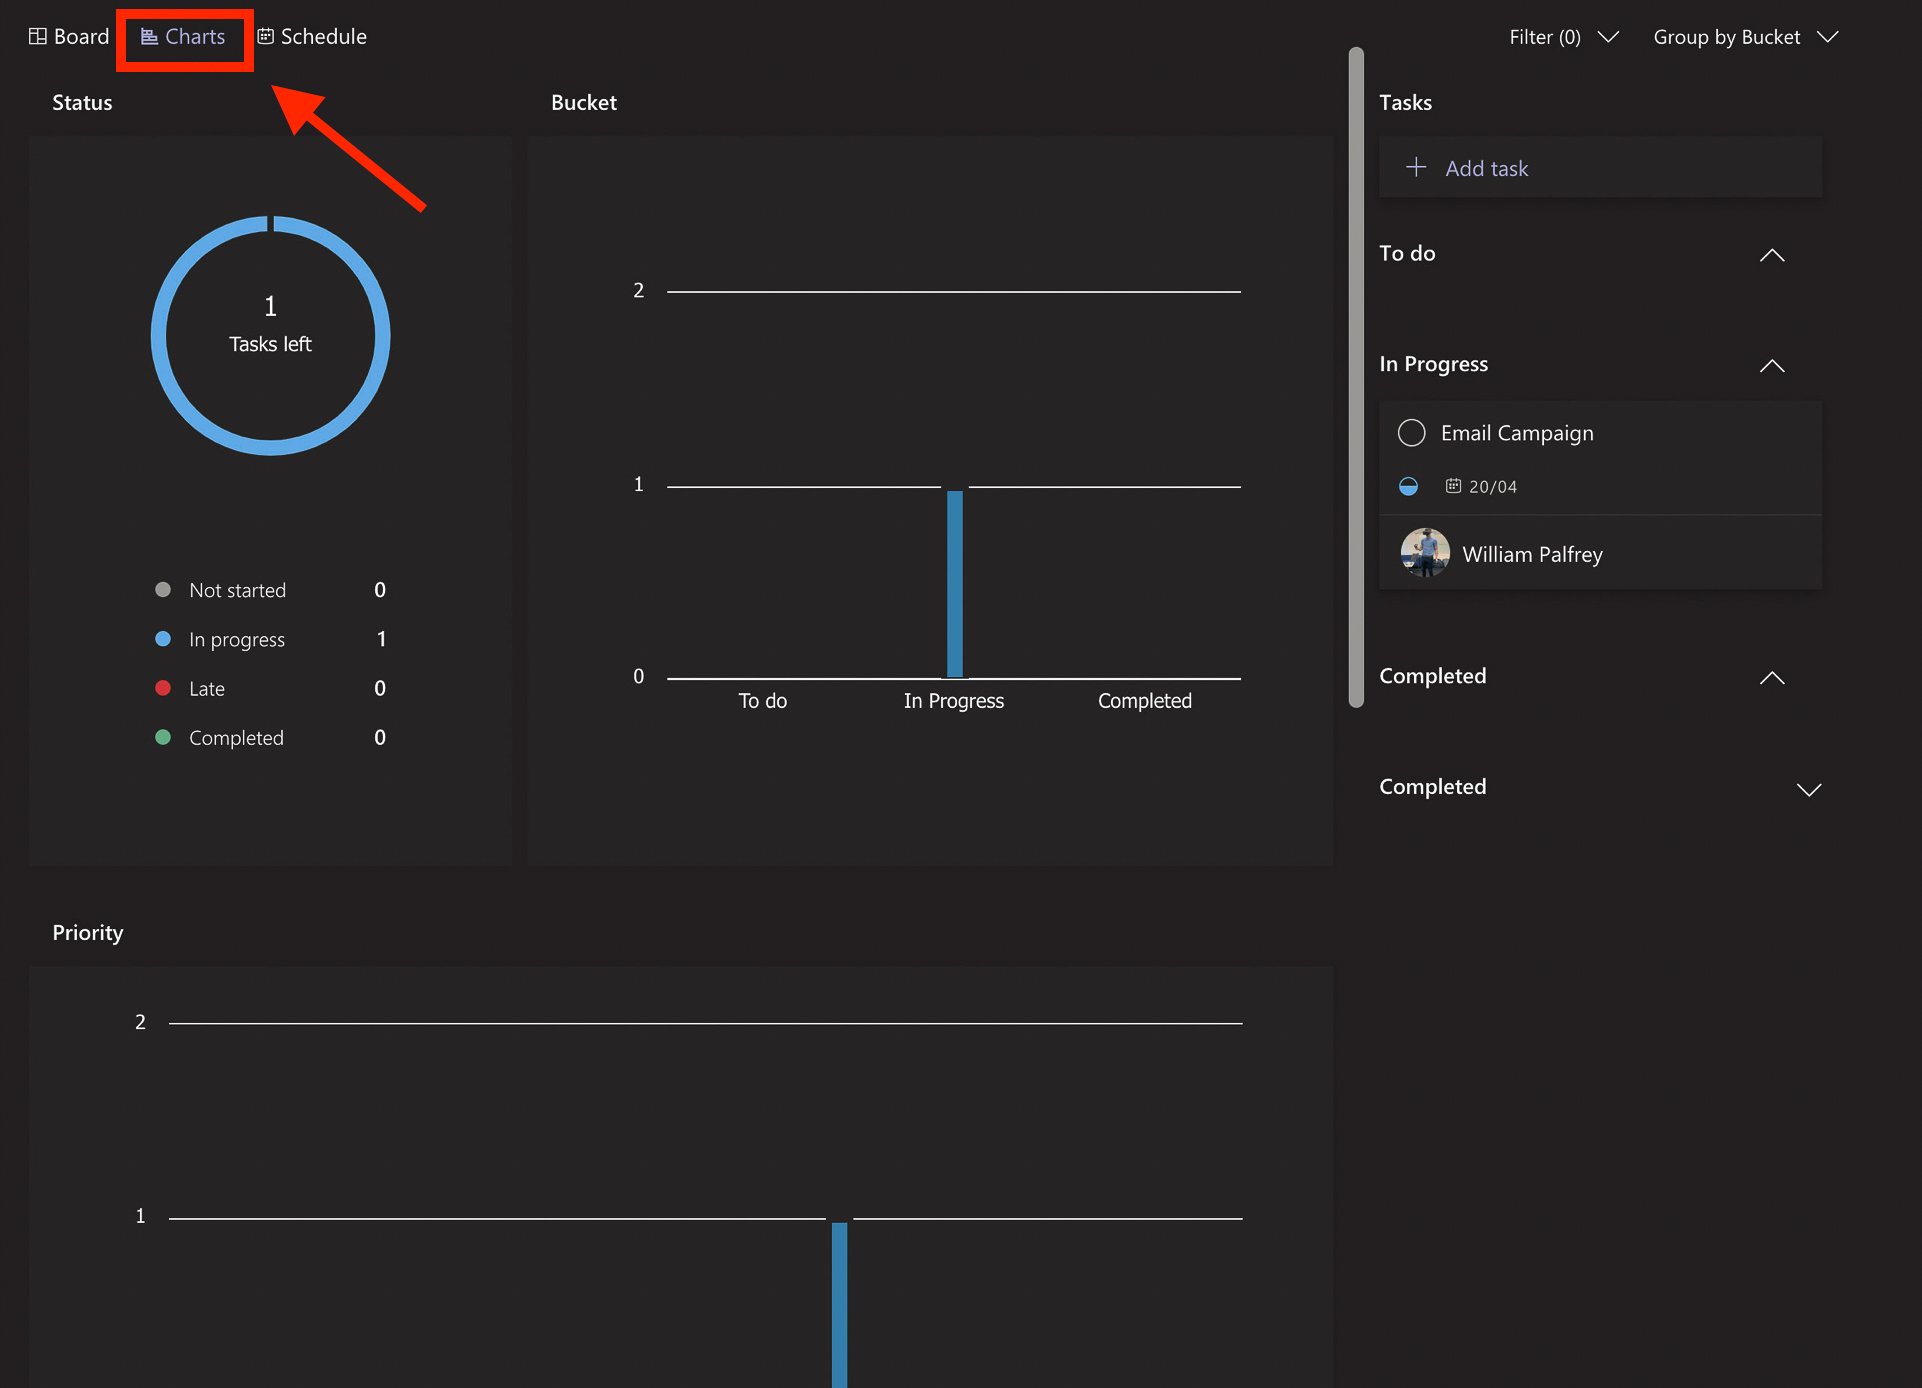
- Click Charts to get an instant overview of all of your tasks
How to add an existing Planner to Microsoft Teams
- Open Teams and navigate to the Teams channel that you would like to add Planner to
- Click the + button and select Planner from the list
- Select the option to use an existing plan from this team, choose the existing plan, and click Save
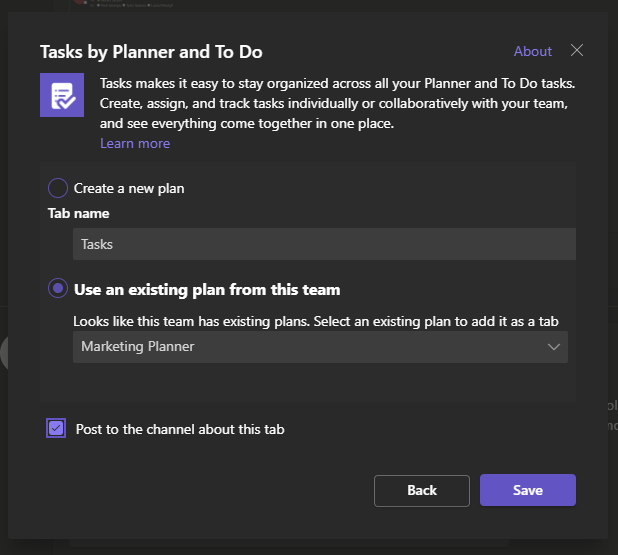
- If you have team members under the same channel, make sure to check the Post to the channel about this tab so they are notified of the new Planner tab
If you need further help with the Planner app or any of the Microsoft 365 productivity tools, our incredibly friendly and handsome IT support guys are willing to help.
Microsoft Teams Training Resources